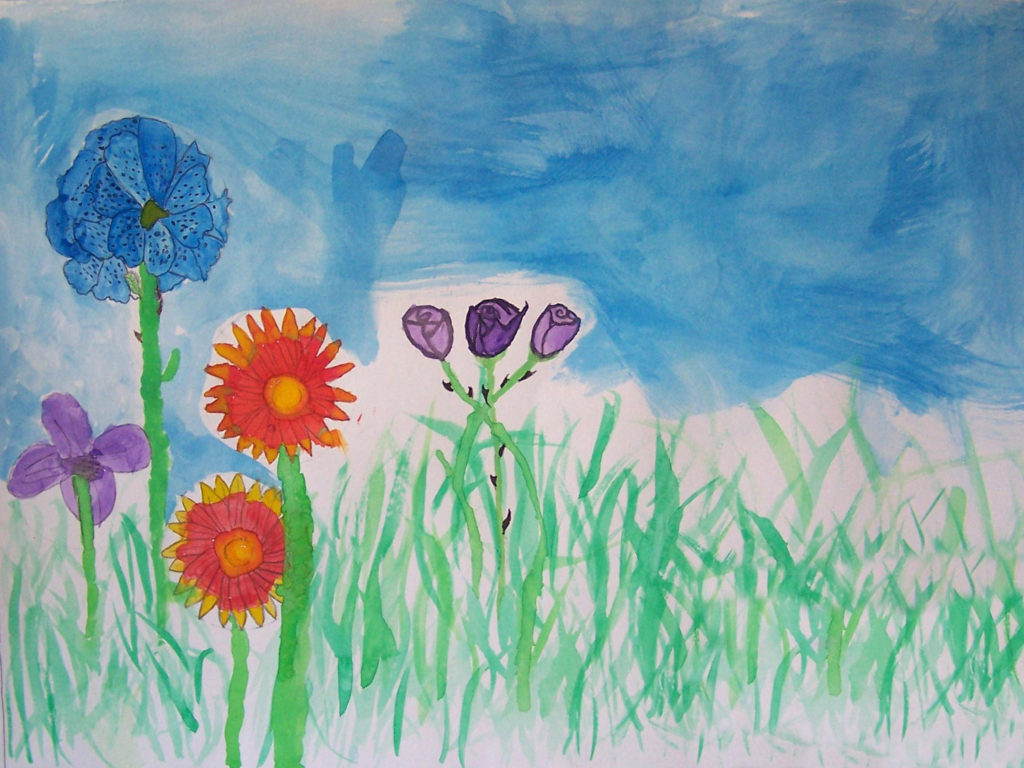
Before having children yourself, there is a good chance you visited friends/family members who were parents and who had stockpiles of their children’s artwork, school work, and photos spread throughout their house. There’s also a good chance you had a silent chuckle to yourself and told yourself that when you have kids you’re not going to let the piles build up like that.
Skip ahead to the present day where the work of your children seems to be taking over your fridge, counter, table, home office space, and just about any other place you can find. The fact is that as a parent, you always feel proud of any work your child does, and you just can’t bring yourself to throw it out. So, what can you do with all the artwork and precious memories you’ve collected? Below are some fun projects and ideas that will help you display it and allow everyone else to enjoy it.
Create a Book of Their Work
Instead of having a bunch of loose papers lying around, why not create books of their work? Many kids enjoy making their own picture book, comic, or storybook. Imagine how excited they would be to see their work in an actual bound book complete with a hard cover? Book printing is traditionally reserved for large quantities, but with suppliers such as print24 you can print your own book even if you want just one copy.
Because print24 offers cheap book printing, you may want to divide their work into different subject areas or types of stories and print books based on the categories. Book printers could save you from hanging on to all kinds of loose papers. Once everything is in a book, it’s much easier to store and display.
A Photo Wall
Photos walls are not only a fun and beautiful way to display your child’s work, it also allows you to constantly swap out what is contained in the frame. There are a few fun ways to go about creating one of these walls, as we will discuss.
First things first, you’re going to need to pick up a variety of frames. Depending on the look you are going for, you can either pick matching frames, or you can go for something a bit more eclectic. If you’re looking to save a little money, be sure to check out garage sales and thrift shops for frames.
Next, you need to decide if you want to keep the glass in the frame or dispose of it. In most cases, it’s easy to get rid of the glass since you will be changing out the pictures on a regular basis.
One way you can make it easier is to place cork in the picture frames. You can cut a large cork board down to size and use the pieces in a number of frames. All you need to do then is purchase some tacks and you can easily tack the item into place and remove it just as easily.
Now maybe the whole notion of picture frames isn’t really your style, but you still like the idea of a photo wall. Another option is to hang a couple of rows of twine horizontally on the wall you will be using. Next, hang clothespins on the twine, making sure to space them out. The clothespins can be painted to blend in with the wall or you can choose a simple colour like white. Again, it’s very easy to swap out the items since they are just hanging on the wall.
A Cork Wall
This idea blends the whole picture wall with cork, but takes it to the next level. Rather than deal with picture frames, tacks, and twine, you can install a massive section of cork on a wall. You can even do a full section. This allows kids to go ahead and display what they are most proud of too, since it’s easy to access.
Storage Solutions
While these are all fun and unique ways to display items, eventually you’re going to need to store them. When you transform their work into a book it can be placed on a bookshelf, but the loose papers are a little trickier.
In most cases, a filing system of some sort is usually the best answer. This allows the items to stay flat and protected. There are filing systems that look more like furniture with drawers so at least they won’t stand out quite as much. Depending on the height, you can even purchase a pair of these drawers and then lay a slab of painted wood across them and create a homemade art desk for your child.
By finding a way to display all their creative works, you’ll be ridding yourself of that clutter and the kids will feel happy seeing their work displayed.